Fixing Accidental Paint Drips: Rapid Spot-Correction Methods
Advertisements
Paint drip correction is essential when accidental runs appear on finished pieces and threaten the quality of the final surface.
Rapid intervention can reduce visible damage, especially when the right tools are used with controlled, localized application methods.
This guide covers three spot-correction techniques using cut-in caps to help restore a cleaner and more consistent finish.
Understanding the Challenge of Paint Drips
Paint drips can appear when too much material is applied, paint consistency is incorrect, or drying conditions are unfavorable.
Correcting them quickly is important because wet or semi-dried drips are generally easier to manage than fully cured imperfections.
Leaving them untreated can compromise the appearance of the finished piece and make later paint drip correction more difficult.
The Role of Cut-In Caps in Precision Correction
Cut-in caps can deliver small amounts of solvent or paint directly to a limited area without disturbing nearby finished surfaces.
This precision makes them useful for spot repairs where broader spray patterns could create overspray or affect areas that do not need correction.
Selecting a cap with the right output and spray pattern helps make the repair process more controlled and easier to manage.
Method 1: Gentle Scraping and Solvent Application
This method works best on drips that have partially dried but have not yet reached a fully cured state.
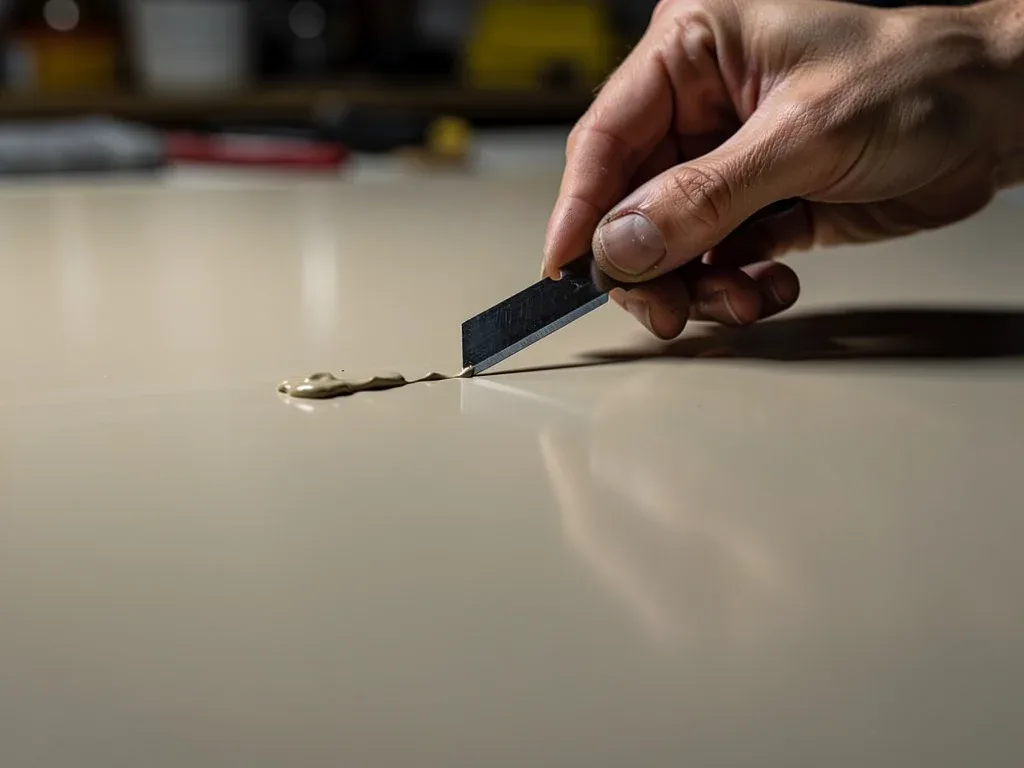
The raised paint is carefully reduced with a sharp razor blade held at a shallow angle to avoid cutting the original finish.
A small amount of suitable solvent can then soften remaining residue and help create a smoother transition around the corrected area.
Initial Assessment and Tool Selection
Before beginning, identify the paint type and drying stage because these factors influence both scraping pressure and solvent selection.
A clean, sharp razor blade provides better control, while a fine-line cut-in cap helps limit solvent application to the affected area.
Preparing materials and protective equipment beforehand makes the paint drip correction process safer and more organized.
Identify paint type and drying stage.
Choose a sharp, clean razor blade.
Select a fine-line cut-in cap for solvent.
Prepare all materials and protective equipment.
The Scraping Technique
Hold the razor blade almost flat against the surface and use light strokes to shave away only the raised paint.
Remove the drip gradually in thin layers instead of trying to eliminate the entire imperfection with one aggressive pass.
Clean the blade regularly during the process so dried paint does not interfere with control or spread residue across the surface.
Method 2: Solvent-Based Dissolution with Targeted Application
This approach focuses on softening or dissolving the drip with a compatible solvent applied directly through a cut-in cap.
It is particularly useful for relatively fresh drips or paint types that respond well to carefully selected solvents.
Using only a minimal amount helps protect surrounding areas and reduces the risk of damaging the original finished surface.
Choosing the Right Solvent
The correct solvent depends on the paint type, so compatibility should always be considered before beginning the correction process.
For acrylics, alcohol or acrylic thinner may be suitable, while some enamel finishes may require mineral spirits or lacquer thinner.
Always test the solvent on a hidden area first because an incompatible product can lift paint, alter sheen, or cause discoloration.
Application and Blotting Technique
Apply a very small amount of solvent directly onto the raised drip with the cut-in cap, avoiding unnecessary saturation.
Allow it to soften the paint briefly, then blot with a clean lint-free cloth instead of rubbing the affected surface.
Repeat the process gradually with clean sections of cloth until the drip is removed without spreading dissolved paint nearby.
Method 3: Touch-Up Painting with Micro-Application
Touch-up painting is useful when a cured drip cannot be removed completely without risking damage to the surrounding finish.
The method focuses on restoring the corrected area with a small amount of matching paint rather than relying only on removal.
It can also help after scraping when a slight depression or visible difference remains on the finished surface.
Color Matching and Paint Preparation
Accurate color matching is essential because even small differences can make the corrected area noticeable after the repair dries.
Whenever possible, use the original paint batch or carefully mix a match with similar color, sheen, and consistency.
Test the prepared paint on a hidden or scrap area before applying it to the finished piece.
Obtain original paint or meticulously match color.
Adjust paint consistency for cut-in cap application.
Test matched paint on a hidden area.
Ensure the surface is clean and dry before touch-up.
Precision Application with Cut-In Caps
Apply the matching paint in very thin layers with a fine-line cut-in cap directly over the area requiring correction.
Allow each layer to dry fully before adding another so the repair does not develop new runs or uneven buildup.
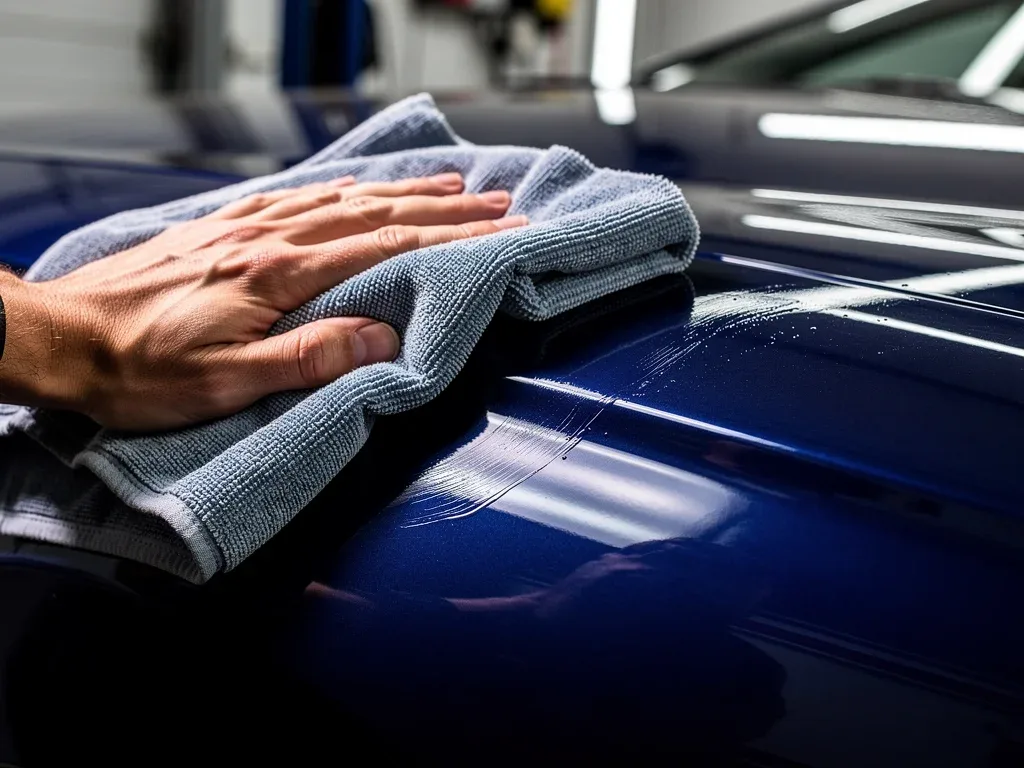
Feathering the edges carefully helps blend the touch-up into the original finish and reduce visible texture differences.
Preventative Measures and Best Practices
Preventing drips is generally easier than correcting them after they appear, making preparation an important part of any painting process.
Proper paint consistency, thin coats, and suitable drying conditions can significantly reduce the chance of runs forming on finished surfaces.
Clean, well-maintained equipment also helps produce more consistent application and reduces the need for later paint drip correction.
Controlling Paint Consistency and Application
Paint should be mixed to the recommended consistency because material that is too thin or thick can create application problems.
Multiple thin coats are usually easier to control than a heavy layer and allow each application to dry more evenly.
Maintaining consistent speed and distance while spraying, rolling, or brushing also helps reduce uneven buildup and unwanted drips.
Environmental Factors and Equipment Maintenance
Temperature and humidity affect drying time and adhesion, so controlled conditions can improve the quality of the final finish.
Spray nozzles and cut-in caps should remain clean because dried paint can disrupt the spray pattern and cause irregular application.
Regular inspection and replacement of worn components help maintain consistent performance and reduce future paint drip correction work.
Key Method | Brief Description |
|---|---|
Gentle Scraping & Solvent | Removes semi-dried drips with razor and targeted solvent for smooth finish. |
Solvent-Based Dissolution | Precisely dissolves fresh drips using specific solvents via cut-in caps. |
Touch-Up Painting | Applies matched paint with micro-precision to fill and blend corrected areas. |
Prevention | Ensuring proper paint consistency, thin coats, and clean equipment to avoid drips. |
Frequently Asked Questions About Paint Drip Correction
What is the best way to remove a fresh paint drip?▼
Blot fresh paint carefully with a clean cloth or swab. If residue remains, use only a small amount of compatible solvent.
Can dried paint drips be removed without damaging the finished piece?▼
Yes. Gentle scraping or targeted solvent application may work, but the surrounding finish should always be protected and tested first.
Why are cut-in caps recommended for paint drip correction?▼
They allow precise application of solvent or touch-up paint, reducing the chance of disturbing nearby areas that do not need repair.
What should I do if paint drip correction leaves a dull spot?▼
Gentle buffing may restore minor hazing. More visible dullness may require a carefully blended clear coat or compatible finishing product.
How can I prevent paint drips from occurring in the future?▼
Use proper paint consistency, apply thin coats, maintain steady technique, and keep nozzles and caps clean and in good condition.
What this means
Paint drip correction gives artists and DIY users several ways to repair localized imperfections without reworking an entire finished piece.
Cut-in caps improve control during solvent application and touch-up painting, helping keep corrective work focused on the affected area.
Prevention remains the best approach, but knowing these three methods can help preserve finish quality when accidental drips still occur.